Exhibitors
Manage exhibitors across the event lifecycle: registration, profile setup, staff management, posts, and meetings.
Quick Links
Quick Start · Workflow · Troubleshooting · Tips · Related
Interface Preview

Quick Start
- Go to Events > Exhibitors.
- Create an exhibitor profile.
- Add staff and publish the profile.
Who This Is For
- Event Admins: configure the exhibitor experience and manage exhibitor accounts.
- Exhibitors: complete registration and share updates on a public profile page.
Before You Start
- Ensure your user has access to Exhibitors in the event menu. If not, contact an administrator.
Workflow at a Glance
- Design the Exhibitor Form
- Configure Attachment Fields (files to collect)
- Create Exhibitor Accounts (optional – can invite later)
- Exhibitor completes the registration wizard (form + files)
- Public profile is available; Exhibitor can post updates
- Admins can manage exhibitors at any time
1) Design the Exhibitor Form
- Navigate to: Events > Exhibitors > Form
- Drag required fields into the form. Ensure these three exist and are marked Required:
- First Name (key:
firstName) - Last Name (key:
lastName) - Email (key:
email)
- First Name (key:
- Save the form.
Tips:
- Use predefined fields (e.g., Country, Nationality, Phone) for faster setup.
2) Configure Attachment Fields
Ask exhibitors to upload files during registration (e.g., company logo, brochure, commercial registration).
- Navigate to: Events > Exhibitors > Attachments
- Add fields one by one:
- Name: label shown to the exhibitor
- Key: letters/numbers/underscores only, no spaces
- Type: Image or Document
- Required: toggle if mandatory
- Save changes.
Notes:
- Required files are enforced unless a file was previously uploaded.
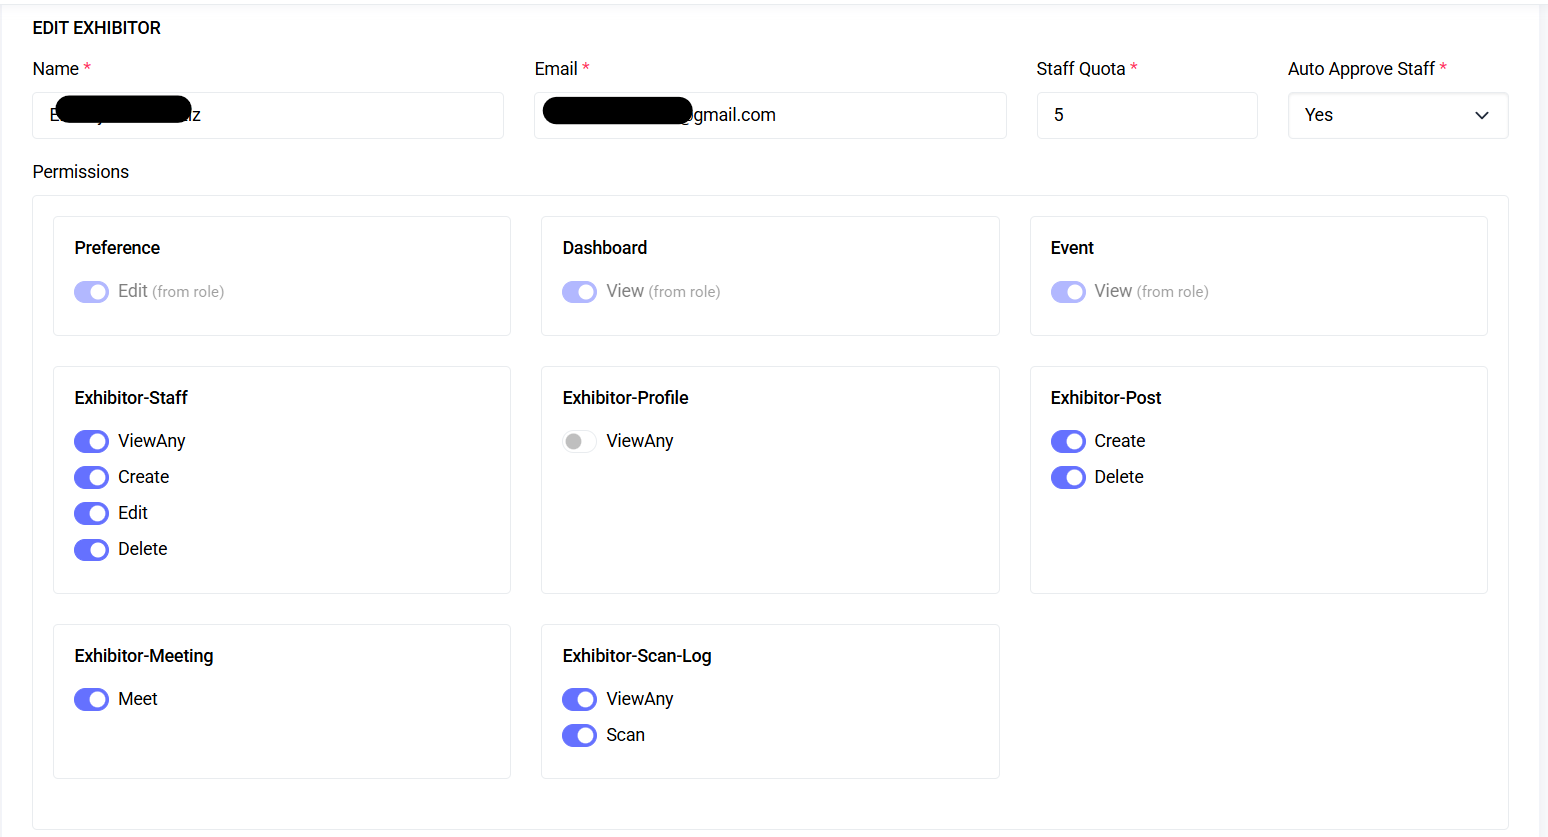
3) Create Exhibitor Accounts (Admin)
- Navigate to: Events > Exhibitors > Create
- Enter Name and Email
- Staff Quota: number of staff they can add
- Auto Approve Staff: automatically approve staff added by the exhibitor
- Permissions: leave defaults unless you need to restrict posting or other actions
- Click Create Exhibitor: the system generates a password and emails the user.
You can edit or delete exhibitors later via Events > Exhibitors.
4) Exhibitor Registration Wizard
Exhibitors complete details and upload files:
- Access the wizard via Exhibitors > Register or via admin invite
- Step 1: Fill in the form and continue
- Step 2: Upload required/optional files and submit
After submission, exhibitors can return to update information or upload missing files.
5) Public Profile
Each exhibitor has a public profile showcasing basic info and posts.
- Share the profile link with visitors or embed it in your event site
- Profile includes: cover, avatar, about, contact info, assets, and posts
6) Posts
Exhibitors can publish updates on their profile.
- Create Post: add a description and optionally attach one of:
- Photo (jpg/png/webp)
- YouTube link
- Submit to publish (newest posts appear first)
- Delete a post via the post menu and confirm
Troubleshooting
- I can’t save the Exhibitor Form: ensure
firstName,lastName, andemailare present and required - Attachment key isn’t accepted: use letters, numbers, underscores; start with a letter; ensure uniqueness
- Exhibitor can’t access the wizard: they must sign in with the account created for them
- Files won’t upload: check file type/size; contact the event admin if issues persist
Tips
- Keep attachment names clear for exhibitors
- Use Staff Quota and Auto Approve to manage staffing
- Encourage exhibitors to keep profiles active with short updates including images or PDFs